Kubernetes Manual Scheduling
The Kubernetes Scheduler is a core component of Kubernetes. In this tutorial we will discuss about different ways of Kubernetes manual scheduling a POD on a node.
What you do when you don’t have a scheduler in your cluster? You probably don’t want to rely on built in scheduler and instead want to schedule the PODs yourself.
So, how exactly does a scheduler work in the back end. Lets start with the simple POD definition.
apiVersion: v1
kind: Pod
metadata:
  name: nginx
  labels:
    app: nginx

spec:
  containers:
    - name: nginx
      image: nginx
      ports
        - containerPort: 8080
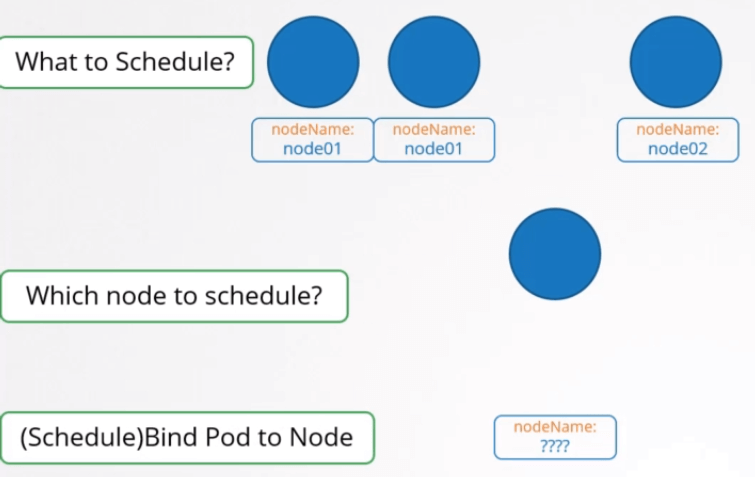
Every POD has a field called nodeName that by default is not set. Kubernetes will create this field automatically.

The scheduler goes through the all PODs and looks for those that don’t have this property set. Those are the candidates for the scheduling. It then identifies the right node for the POD by running the scheduling the algorithm. Once identified, it schedules the POD on the node by setting the nodeName property to the name of the node by creating the binding object.

apiVersion: v1
kind: Pod
metadata:
  name: nginx
  labels:
    app: nginx

spec:
  containers:
    - name: nginx
      image: nginx
      ports
        - containerPort: 8080
  nodeName: node02
No Scheduler
If there is no scheduler to monitor and schedule a node what happens? The pods continue to the in a pending stage.
> kubectl get pods
NAME            READY   STATUS      RESTARTS   AGE
nginx           0/1     Pending        0       12s
So what can we do about it. We can manually assign the PODs to nodes yourself.
Without a scheduler the easiest way to schedule a POD is to simply set the nodeName field to the name of the node in your POD specification file while creating the POD. The POD then gets assigned to the specified node.
apiVersion: v1
kind: Pod
metadata:
  name: nginx
  labels:
    app: nginx

spec:
  containers:
    - name: nginx
      image: nginx
      ports
        - containerPort: 8080
  nodeName: node02
> kubectl get pods NAME READY STATUS RESTARTS AGE IP NODE nginx 1/1 Running 0 12s 10.40.0.15 node02
What if the POD is already created and you want to assign POD to a node. Kubernetes wont’ allow you to modify the nodeName property of a POD. So another way to assign existing POD to node is to create a binding object and sent a post request to the PODs binding API. This is what the actual scheduler does.
apiVersion: v1
kind: Binding
metadata:
  name: nginx

target:
  apiVersion: v1
  kind: Node
  name: node02
In the binding object we specify the target node with a name of the node. Then send a post request to the PODs binding API by setting data property in the JSON format. Here you must convert your YAML to its equivalent JSON format.
curl --header "Content-Type: application/json" --request POST --data
'{
  "apiVersion": "v1",
  "kind": "Binding",
  "metadata": {
    "name": "nginx"
  },
  "target": {
    "apiVersion": "v1",
    "kind": "Node",
    "name": "node02"
  }
}' http://$SERVER/api/v1/namespaces/dafault/pods/$PODNAME/binding